These are some practice ones I made, in preparation for a quilt I'm making. I have very, very limited sewing experience- I just made this up as I went. Luckily it worked! Enjoy. :)

First, you need to make a pattern. I drew mine by hand, but I'm sure one could find something off the internet.
 Here's mine. Made with a pink Sharpie, and just on ordinary everyday lined paper. Nothing fancy needed.
This is how close they are- not perfect, but pretty close. :)

I found a honeybun with some crazy material I liked, and if you know what a honeybun is then you already know that the fabric comes pre- cut into strips. No extra cutting or measuring needed. Just be sure to use the back of the fabric for tracing, and realize that your owl will be a mirror image of your pattern when right side up, unless you flip the pattern over.

Next you simply trace it, I used just an ordinary pen.

Here's that mirror image. This is your base piece for the applique. Everything else- eyes, beak, whatever- gets sewn on top of this piece.

Next is the wing. I cut out the wing slightly in my pattern, just so I could get the basic shape of it without having to draw another pattern. Again, make sure your pattern is facing the same way you cut the base piece or it will be backwards.

Simply place it on...

No pinning necessary!

Then place the eyes (I picked out fabric that had these eye shapes already in it, I just cut them out, but you could make yours however), and beak.
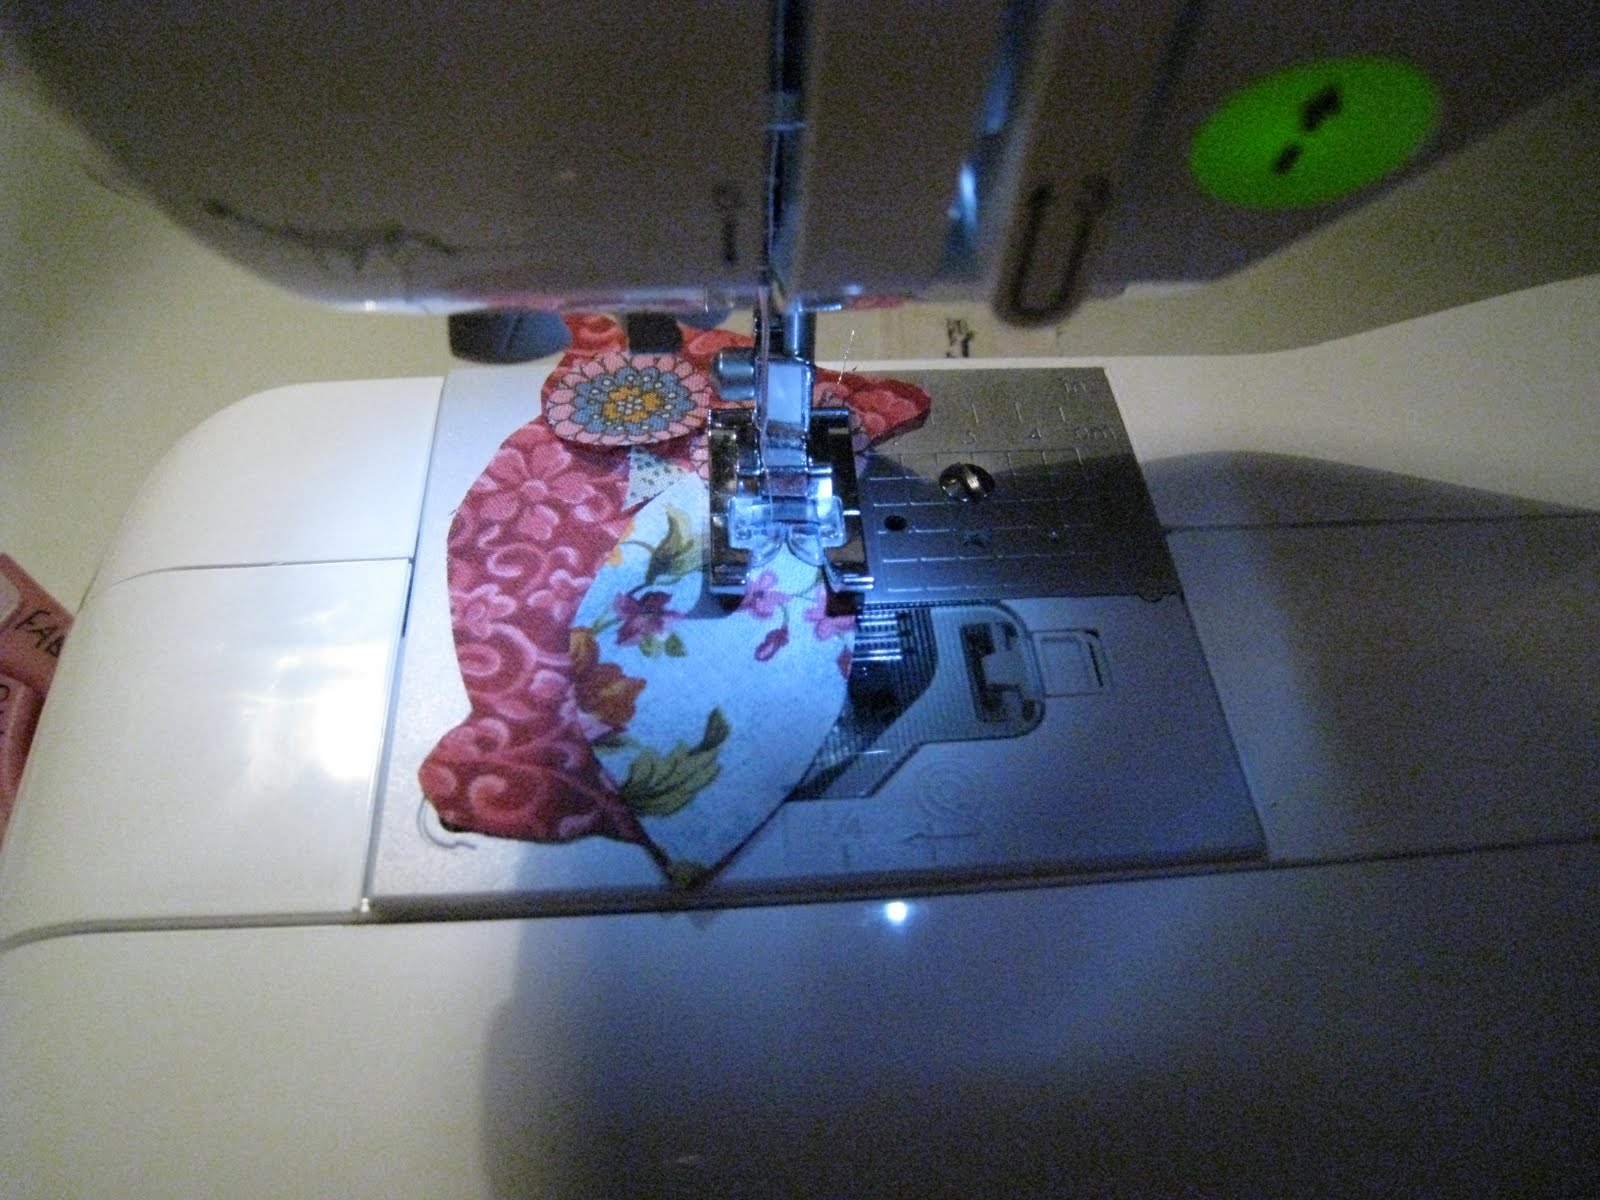
This applique is small enough that I didn't need to pin anything, the fabric just stays in place when I sew it. Lucky me, I know.

Add some details, like feathers or some funky stitches, and that's it! All done.

Now you're ready to experiment with whatever interesting shapes you can find on material, such as the wings on the owls shown above.
**NOTE: Unless a special backing is applied or an actual quilting appliqué stitch is used for all details and all around the owl, these will fray over time. I'm sticking this nifty backing on mine to prevent it, but it's just something to keep in mind.
Thanks for the post Hannah! Usually when I figure out how to do something cool, I don't tell anyone because I want to be the only one who knows how to do it.
ReplyDelete